Develop an API with Go using dev container - 1
 Photo by Ian Taylor on Unsplash
Container changes the software industry, it empower us to have more robust deployment process.Sometimes it is painful to configure the development environment as a developer. When there are some newcomers we might face some situation. Like the development environment can only be setup with some specific version of dependencies. But the correct version of dependencies has been lost or outdated with the document.
In this case, dev container can help you to setup the environment and manage the dependencies with the docker-compose file. It creates a portable development environment and you can share it via check-in the dev container config files into the version control. Which provide the version control to development environment.
We will use a API server with MariaDB to demonstrate it. The API server will be a phone validator, which allows user input a phone number and the API will check if the phone number is valid and then store the phone number and result to the DB. If the user input the same the phone number exist in DB we will sent the result store in DB instead of validate it again.
Prerequisite:
- vscode
- Knowledge of docker
- Knowledge of MariaDB
Setting up VS code dev container
create a folder in root called .devcontainer, in the folder we will create files below to config our dev container.
DockerFile
FROM mcr.microsoft.com/devcontainers/go:1-1.20-bullseye
.env
MYSQL_USER=root
MYSQL_ROOT_PASSWORD=root
MYSQL_PASSWORD=root
MYSQL_DATABASE=phone_validator
docker-compose.yml
version: '3.8'

volumes:
  mariadb-data:

services:
  app:
    build:
      context: .
      dockerfile: Dockerfile # We will use the DockerFile inroot to build the app
    env_file:
      - .env # Loads the .env file to provide the environment varable
    volumes:
      - ../..:/workspaces:cached
    command: sleep infinity
    network_mode: service:db # Make sure the app runs on the same as the database container
  db:
    image: mariadb:latest # Use the latest mariaDB. You can also specify a version here
    restart: unless-stopped
    volumes:
      - mariadb-data:/var/lib/mysql
    env_file:
      - .env # Loads the .env file to provide the environment varable
devcontainer.json
{
	"name": "phone validator",
	// Specified we will use docker-compose.yml as the dev container.
	"dockerComposeFile": "docker-compose.yml",
	"service": "app",
	"workspaceFolder": "/workspaces/${localWorkspaceFolderBasename}",
	// We will expose 3000,3306 to out localhost, so that we can access the API and inspect the DB using any DBMS client.
	"forwardPorts": [
		3000,
		3306
	],
	"customizations": {
		"vscode": {
			"extensions": [
			"premparihar.gotestexplorer"
			]
		}

	}
}
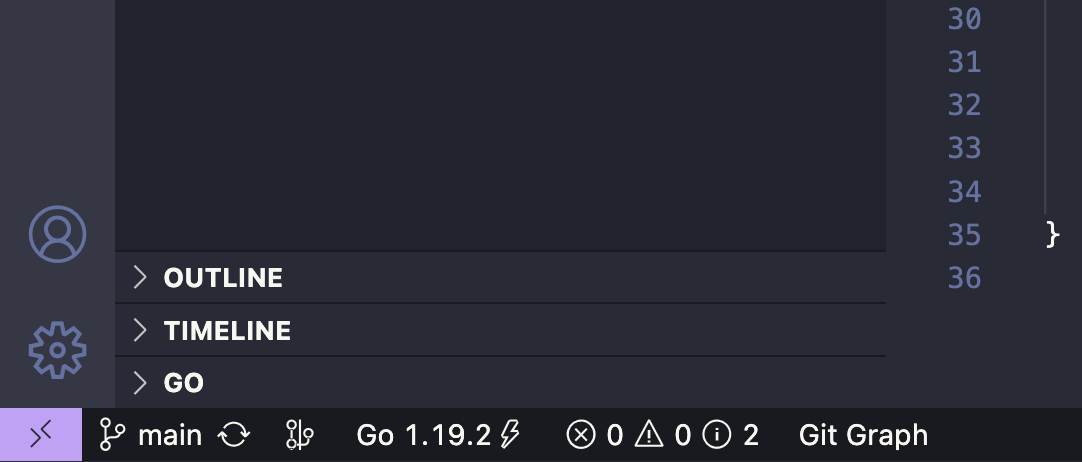
Now we done the configuration, let’s start the dev container by clicking the purple button at the bottom left.
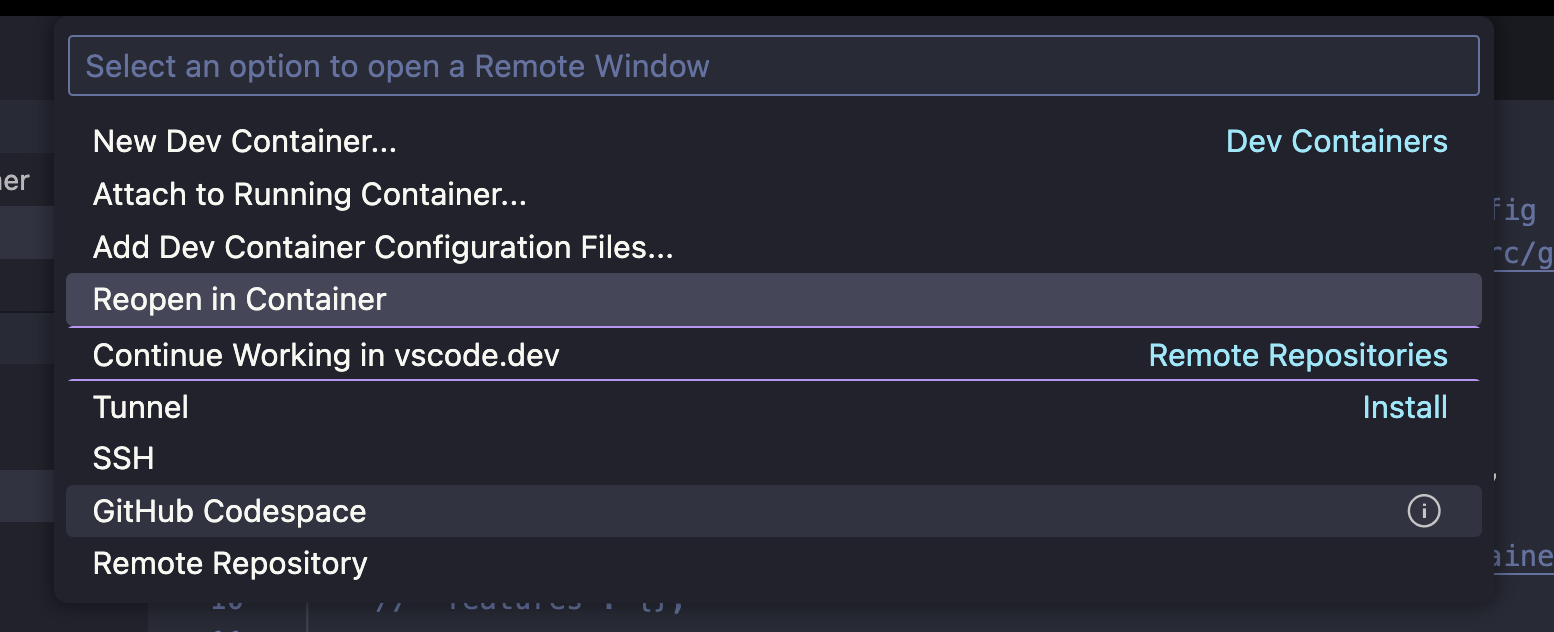
And click the Reopen in container
Then you will see the purple button turns into this when the dev container created.

The dev container is up and running. Let’s write our code to implement the DB connection.
Implement the DB connection
Create the project
To get started, we will need to scaffold the project. Let’s do it step by step:
init module
go mod init phone_validator
Install dependencies
We will use gin as a framework to implement the API server.
To install gin
go get -u github.com/gin-gonic/gin
We will use gorm as a framework to implement the API server.
To install gorm and mysql driver
go get -u gorm.io/gorm
go get -u gorm.io/driver/mysql
Write first lines of code
create main.go under root folder and type the code below in main.go
func main(){
	println("Hello world")
}
run go
go run main.go
If you see the Hello world in the terminal, we can move on the create our phone validator APIs.
Create db connection
We try if our go code can connect our MariaDB. Open main.go. Let’s create the entry point of our code and a function that runs the go HTTP server
package main

// Entry point
func main(){

}

func run(){
}
Then we will write a function called setUpDbConnection which takes a connectionString as a string parameter to set up the connection with DB. And the function will either return a gorm DB instance and an error instance.
package main

import (
	"fmt"

	"gorm.io/driver/mysql"
	"gorm.io/gorm"
)
// Entry point
func main(){/*****/}
func run(){/*****/}

func setUpDbConnection(connectionString string) (*gorm.DB, error) {
	db, err := gorm.Open(mysql.Open(connectionString), &gorm.Config{})

	if err != nil {
		return nil, err
	}

	fmt.Println("Successfully created connection to database")
	return db, nil
}
Next, we will write some code in run() function to send the connection string to setUpDbConnection and retrieve the gorm db instance. Also run function will catch the error and return it if there are any.
package main

import (
	"fmt"

	"gorm.io/driver/mysql"
	"gorm.io/gorm"
)
// Entry point
func main() {/**/}

func run() error {
	dsn := "root:root@tcp(127.0.0.1:3306)/phone_validator?charset=utf8mb4&parseTime=True&loc=Local"

	db, err := setUpDbConnection(dsn)

	if err != nil {
		return err
	}

	fmt.Printf("this is the db: %v", db)
	return nil
}

func setUpDbConnection(connectionString string) (*gorm.DB, error) {/**/}
Finally, we will called the run() function in main(). its will run the code to setup DB connection with connection string or print out the Error and exit the program if there are any error thrown by run() function.
package main

import (
	"fmt"
	"os"

	"gorm.io/driver/mysql"
	"gorm.io/gorm"
)
// Entry point
func main() {
	if err := run(); err != nil {
		fmt.Fprintf(os.Stderr, "this is the startup error: %s\\n", err)
		os.Exit(1)
	}
}

func run() error {/**/}
func setUpDbConnection(connectionString string) (*gorm.DB, error) {/**/}
Now you should be able to run the code with typing go run main.go in terminal. And you will see the output like this:
Successfully created connection to database
this is the db: &{0x********** <nil> 0 0x********** 1}
Now we have created the dev container and write our first code for our API. Next we will dive into the design and implementation of the API server and interact with the DB using gorm.